While do-it-yourself projects can be fun and fulfilling, there is always a potential for personal injury or property damage. We strongly suggest that any project beyond your abilities be left to licensed professionals such as electricians, plumbers, and carpenters. Any action you take upon the information on this website is strictly at your own risk, and we assume no responsibility or liability for the contents of this article.
Quick & Easy Wall Repairs
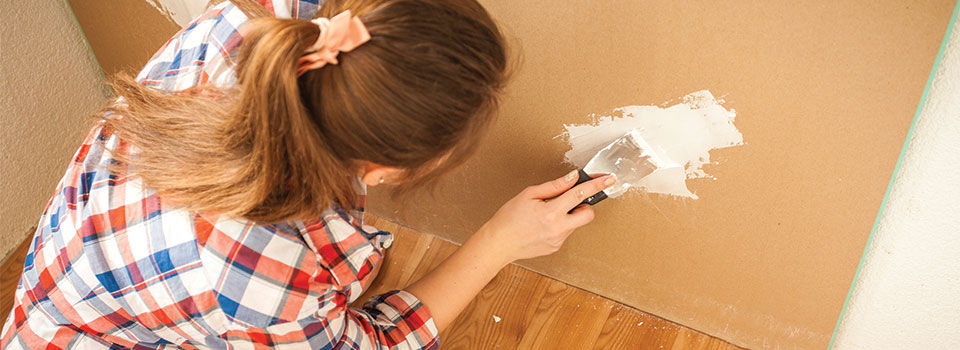
Wall repairs are generally quick and easy to do yourself. Most repairs are simple and consist of filling dents, correcting scratches, dealing with nails, and patching holes. Most repairs require a few simple tools or materials, such as a drywall joint compound for drywall and a plaster joint compound for plaster walls. But, even when the damage is more significant, repairing walls is generally a fast and easy protocol that can be done with little skills or experience. Here’s how.
Drywall Damage
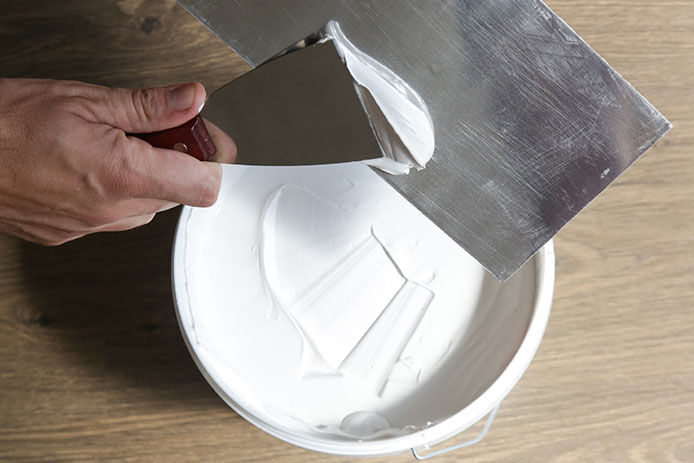
Drywall, or sheetrock, is likely what your walls are made from. Drywall is vulnerable to cracks, dents, holes, and scratching, but thankfully is just as easy to repair. Fixing drywall blemishes typically requires some drywall joint compound and maybe a little sanding and painting. Most drywall damage consists of popped nails, nail and screw holes, cracks, dents, and scratches. This kind of damage is quite minor and can be fixed up in a jiffy. Fill dents or small holes with a lightweight spackle using the tip of your finger or a small putty knife. Ensure that the spackle fills the dent or hole and is flush and level with the rest of the wall. Check the instructions given by the manufacturer first, but generally allow your spackle to dry for 15 to 30 minutes before the next step. Once it’s dry, use fine-grit sandpaper to sand down the area to ensure it’s smooth and perfectly level with the rest of the wall. Use a brush or cloth to brush away any debris and use paint to touch up the area, so the wall looks uniform again.
Cracks in Drywall
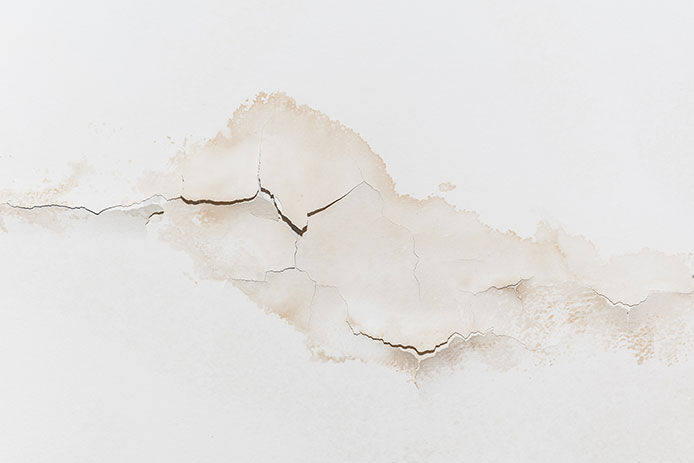
Cracks in drywall happen, but luckily, they’re pretty easy to fix. Using a brush and a utility knife, you want to open the crack a little with the knife and brush away any dust or debris with the hand brush. Next, fill the cleaned crack with lightweight spackle using a putty knife. Spread a thin coat of spackle over the entire area and smooth out with your putty knife. Again, check with manufacturer instructions to see how long the spackle needs to dry. Generally, this will take between 15 to 30 minutes. Afterward, sand down the area with some fine-grit sandpaper so it’s smooth and uniform with the existing wall. Be sure the spackle is completely dry before sanding. Brush away any debris and apply touch-up paint as a finishing touch. If your crack is wider than half an inch, consider also using self-adhesive fiberglass drywall tape. Apply drywall tape to the seams to reinforce the joint compound and keep it from crumbling or falling out when dry.
Small Holes in Drywall
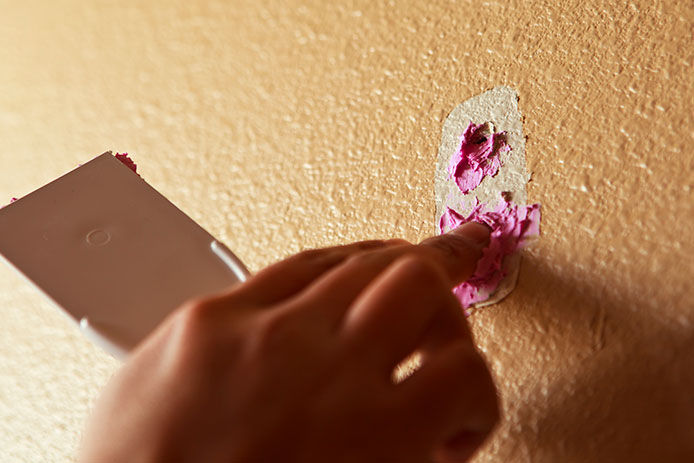
For holes bigger than the width of a nail or screw, you may need more than a joint compound. Drywall repair kits are an easy way to quickly seal up a small hole in your drywall. Most drywalls kits include all the tools you need for fixing your drywall. If your hole is smaller than 4 inches across, it can be considered a smaller hole. It will, however, still need a drywall patch, which should come in your drywall repair kit. Cover the hole with the self-adhesive drywall mesh patch and use a putty knife to spread the spackle or lightweight joint compound over and around the patched hole. Read the manufacturer’s instructions on how long the joint compound and patch need to dry for. Typically this can be up to 24 hours. If you need to, apply a second coat of compound once the first layer is dry. Once everything has dried, used fine-grit sandpaper to sand down the area, so it’s smooth and uniform with the existing wall. Use paint to touch up the wall paint and finish repairing your drywall hole.
Patching Large Holes in Drywall
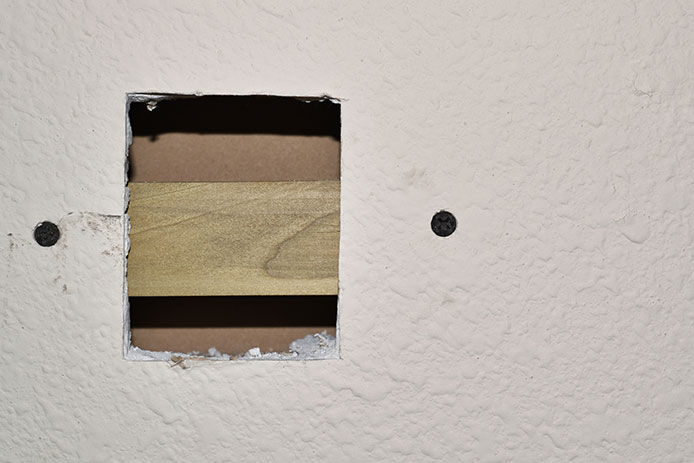
Even larger holes in drywall are relatively hassle-free to fix. While larger holes, or holes bigger than 4 inches, are rarer when it comes to drywall, they happen sometimes, and it’s best to know how to fix it just in case. If your hole is larger than 4 inches across, you will probably need to patch it with a new piece of drywall. Using a carpenter square and a pencil, draw a rectangle at least one inch away from the hole around the hole. You’re going to cut this piece of the wall completely out. Use a stud finder to locate any wiring and mark those too on the wall, so you don’t cut into them. Using a drywall saw, cut along the penciled line. When you get to a wall stud, cut around it and be sure it’s still marked. Once you’ve cut the whole piece, remove the damaged section of drywall.
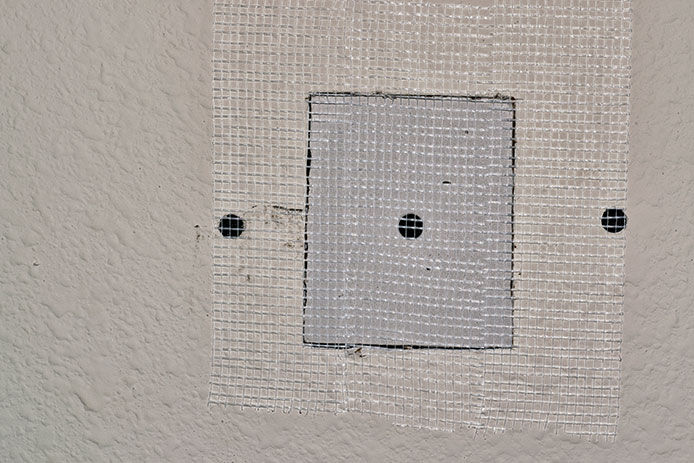
Before placing the drywall patch on the hole, you will want to put some scrap lumber or plywood in the hole, so it supports the patch of drywall. This will keep the patch from cracking. Screw the supports vertically behind the opening in the drywall and sink the screws slightly below the surface. Cut or purchase the drywall patch that is the right size for your space. To install, use a drill and drywall screws to secure the patch to the support and wall studs, sinking the screw heads slightly below the surface. Use self-adhesive drywall tape around the edges of the drywall patch and spread the drywall joint compound across the tape and patch to create a smooth and flat surface. Similarly, let it dry completely and then sand down until smooth. You can apply a second and third coat of joint compound if you need to, allowing it to completely dry between sanding and application. Lastly, apply paint to complete the drywall repair.
Whether you’re a renter or a homeowner, patching drywall is an essential skill that will allow you to easily and efficiently repair the damage yourself.